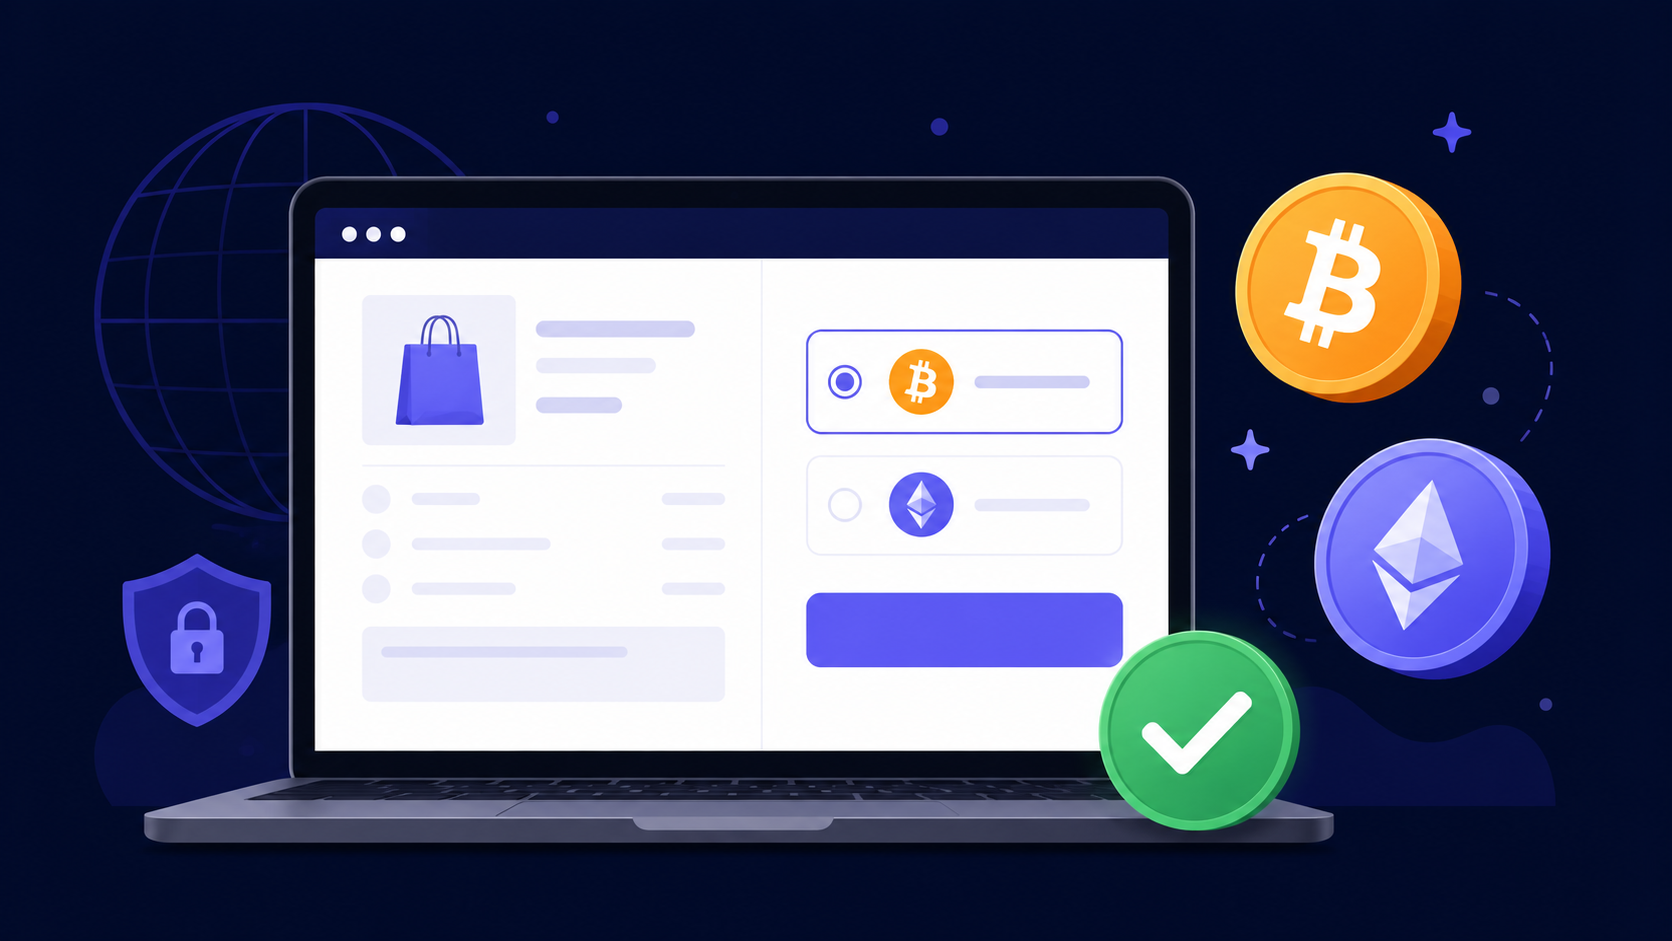
Why Merchants Are Switching to Crypto
Credit card processors charge 2–3% per transaction, hold your funds for days, and can freeze your account without warning. Crypto payments cut all of that out. Funds go directly to your wallet — no middleman, no waiting period, no chargebacks.
In 2026, accepting crypto is no longer a niche move. It's table stakes for any merchant selling to a global audience.
What You'll Need Before You Start
- A non-custodial wallet — MetaMask (EVM chains), Exodus, or a hardware wallet like Ledger. You control the private keys.
- Your wallet addresses — one per supported coin (BTC, ETH, USDT, etc.)
- A payment gateway account — this is what generates unique payment addresses per order and monitors the blockchain for you
Step 1 — Create Your CryptoGate Account
Go to cryptogate.live/register and sign up. No KYC is required — just an email and a password. Your account is active immediately.
Step 2 — Add Your Wallet Addresses
In your dashboard, go to Settings → Wallets and paste in your receiving addresses for each coin you want to accept. CryptoGate never holds your funds — it monitors the blockchain and notifies your server when a payment arrives, then the money goes straight to the address you set.
Step 3 — Generate an API Key
Under API Keys, create a key for your website integration. Copy the key — you'll need it in the next step.
Step 4 — Create a Payment Session
When a customer checks out, your server calls the CryptoGate API to create a payment session:
POST https://api.cryptogate.live/v1/payment/create
  {
    "amount": "49.99",
    "currency": "USD",
    "coins": ["BTC", "ETH", "USDT"],
    "order_id": "order_123",
    "webhook_url": "https://yoursite.com/webhooks/crypto"
  }
The API returns a unique deposit address and a payment URL. Redirect your customer to that URL — it shows a timer, the exact amount to send, and a QR code.
Step 5 — Handle the Webhook
When the payment confirms on-chain, CryptoGate sends a POST request to your webhook_url with the order ID and status. Your server verifies the signature, marks the order as paid, and fulfills
it.
{
    "event": "payment.completed",
    "order_id": "order_123",
    "amount_received": "49.99",
    "coin": "USDT",
    "txid": "0xabc...def"
  }
Step 6 — Test in Sandbox Mode
Before going live, flip your API key to sandbox mode in the dashboard. You can simulate payments without real funds to make sure your webhook handler and order flow work correctly.
Common Questions
What if the customer sends the wrong amount?
Partial payments are held in a partial state — you can choose to accept them manually or ask the customer to top up. You're in full control.
What about exchange rate volatility?
The payment session locks the exchange rate at the time of creation, so the customer always knows exactly how much crypto to send. Sessions expire after 30 minutes if unpaid.
Do I need to convert crypto to fiat?
That's entirely up to you. Many merchants keep a portion in crypto as a hedge and convert the rest via a CEX. CryptoGate doesn't touch this — once the funds land in your wallet, they're yours.
Summary
Accepting crypto on your website takes about 30 minutes to set up end-to-end: create an account, add wallet addresses, generate an API key, integrate the payment session endpoint, and handle the webhook. No KYC, no custodians, no 3% fee.